Setting up multiple bounce houses in your yard requires careful planning to ensure safety and a smooth event. Here’s what you need to know:
- Space Matters: Measure your yard to ensure enough room for each bounce house. Standard units are 13×13 ft, while larger ones can be 20×20 ft or more. Leave at least 6 ft of clearance around each unit.
- Surface Preparation: Grass is ideal for bounce houses due to its natural cushioning and ease of anchoring. For hard surfaces like concrete, use tarps and sandbags to protect inflatables and users.
- Safety First: Avoid windy conditions (over 15 mph) or rain. Clear the area of sharp objects, debris, and overhead hazards like branches or power lines. Ensure constant adult supervision during use.
- Anchoring Is Key: Use stakes for grass and sandbags for hard surfaces. Always check for underground utilities before anchoring.
- Weather Monitoring: Keep an eye on the forecast and have a backup plan for bad weather, such as moving indoors or rescheduling.
Partnering with a professional rental company like Bouncy Rentals USA simplifies the process. They handle delivery, setup, safety checks, and even offer extras like generators and concession machines to elevate your event. With proper preparation, you’ll create a safe, fun experience for everyone.
Checking Your Yard: Ground and Surface Conditions
Before deciding where to set up your bounce houses, take a close look at the surface conditions in your yard. Choosing the wrong spot can lead to equipment damage, safety risks, or even the cancellation of your event. A quick check now can save you from headaches later.
Selecting the Best Surface
The ideal surface for a bounce house is a flat, grassy area. Grass provides a soft landing for falls and makes it easy to anchor the inflatable securely with ground stakes. Steer clear of gravel, mulch, steep slopes, or uneven ground – these surfaces can make the inflatable unstable and may even damage it.
| Surface Type | Pros | Cons | Safety Measures |
|---|---|---|---|
| Grass | Soft for falls; easy to anchor | May be uneven or muddy when wet | Use stakes |
| Pavement | Stable and flat | Hard surface increases injury risk | Add tarps, sandbags, and padding |
| Gravel/Mulch | Not suitable | Unstable; risk of punctures | Avoid entirely |
Testing Ground Stability and Clearing Hazards
Ground stability is key, especially if you’re setting up more than one bounce house. Use a long board and a level to check for slopes – your surface should have no more than a 5% incline (around 2.86 degrees). Walk the area to identify soft spots or uneven patches. The ground should be firm; soft areas could cause the bounce house to shift or sink during use.
Clear the setup area of any hazards. Remove sticks, rocks, sharp objects, pet waste, toys, and debris. Don’t forget to check for roots, branches, prickly weeds, lawn furniture, or hoses – anything that could puncture the inflatable or cause injuries. Also, look up! Low-hanging branches or power lines can interfere with the setup. A rake and broom can help ensure the area is clean and safe, minimizing the risk of punctures or disruptions during your event.
Adding Tarps or Padding for Hard Surfaces
If you have no choice but to set up on a hard surface, extra precautions are a must. Lay down a tarp or thick padding under the bounce house to protect both the inflatable and its users. The tarp prevents wear and tear on the bounce house floor and adds a layer of cushioning for falls. Choose a durable tarp that won’t tear or bunch up.
For anchoring on hard surfaces, use sandbags or water weights instead of ground stakes. Ensure the surface is completely level and free of debris before placing the tarp – small rocks or rough spots could damage the inflatable.
Bouncy Rentals USA offers pre-rental site inspections and expert guidance to help you prepare your setup area. Their knowledgeable team can spot potential hazards and make sure all safety standards are met, making them a valuable resource when planning for multiple bounce houses.
Measuring Space for Multiple Bounce Houses
Getting the space right for multiple bounce houses is essential. It avoids last-minute scrambling and ensures there’s enough room for all the inflatables to be set up safely and comfortably.
Start by noting down your yard’s dimensions to confirm whether it can accommodate the bounce houses you plan to use.
Measuring Your Available Space
Begin by measuring the flat, usable area in your yard with a tape measure. Focus on level ground, as bounce houses need a stable, even surface for safe operation. Record these measurements in feet, since most bounce house sizes are listed in imperial units.
Check for obstacles like trees, fences, or sheds, and subtract their footprint from your total usable space.
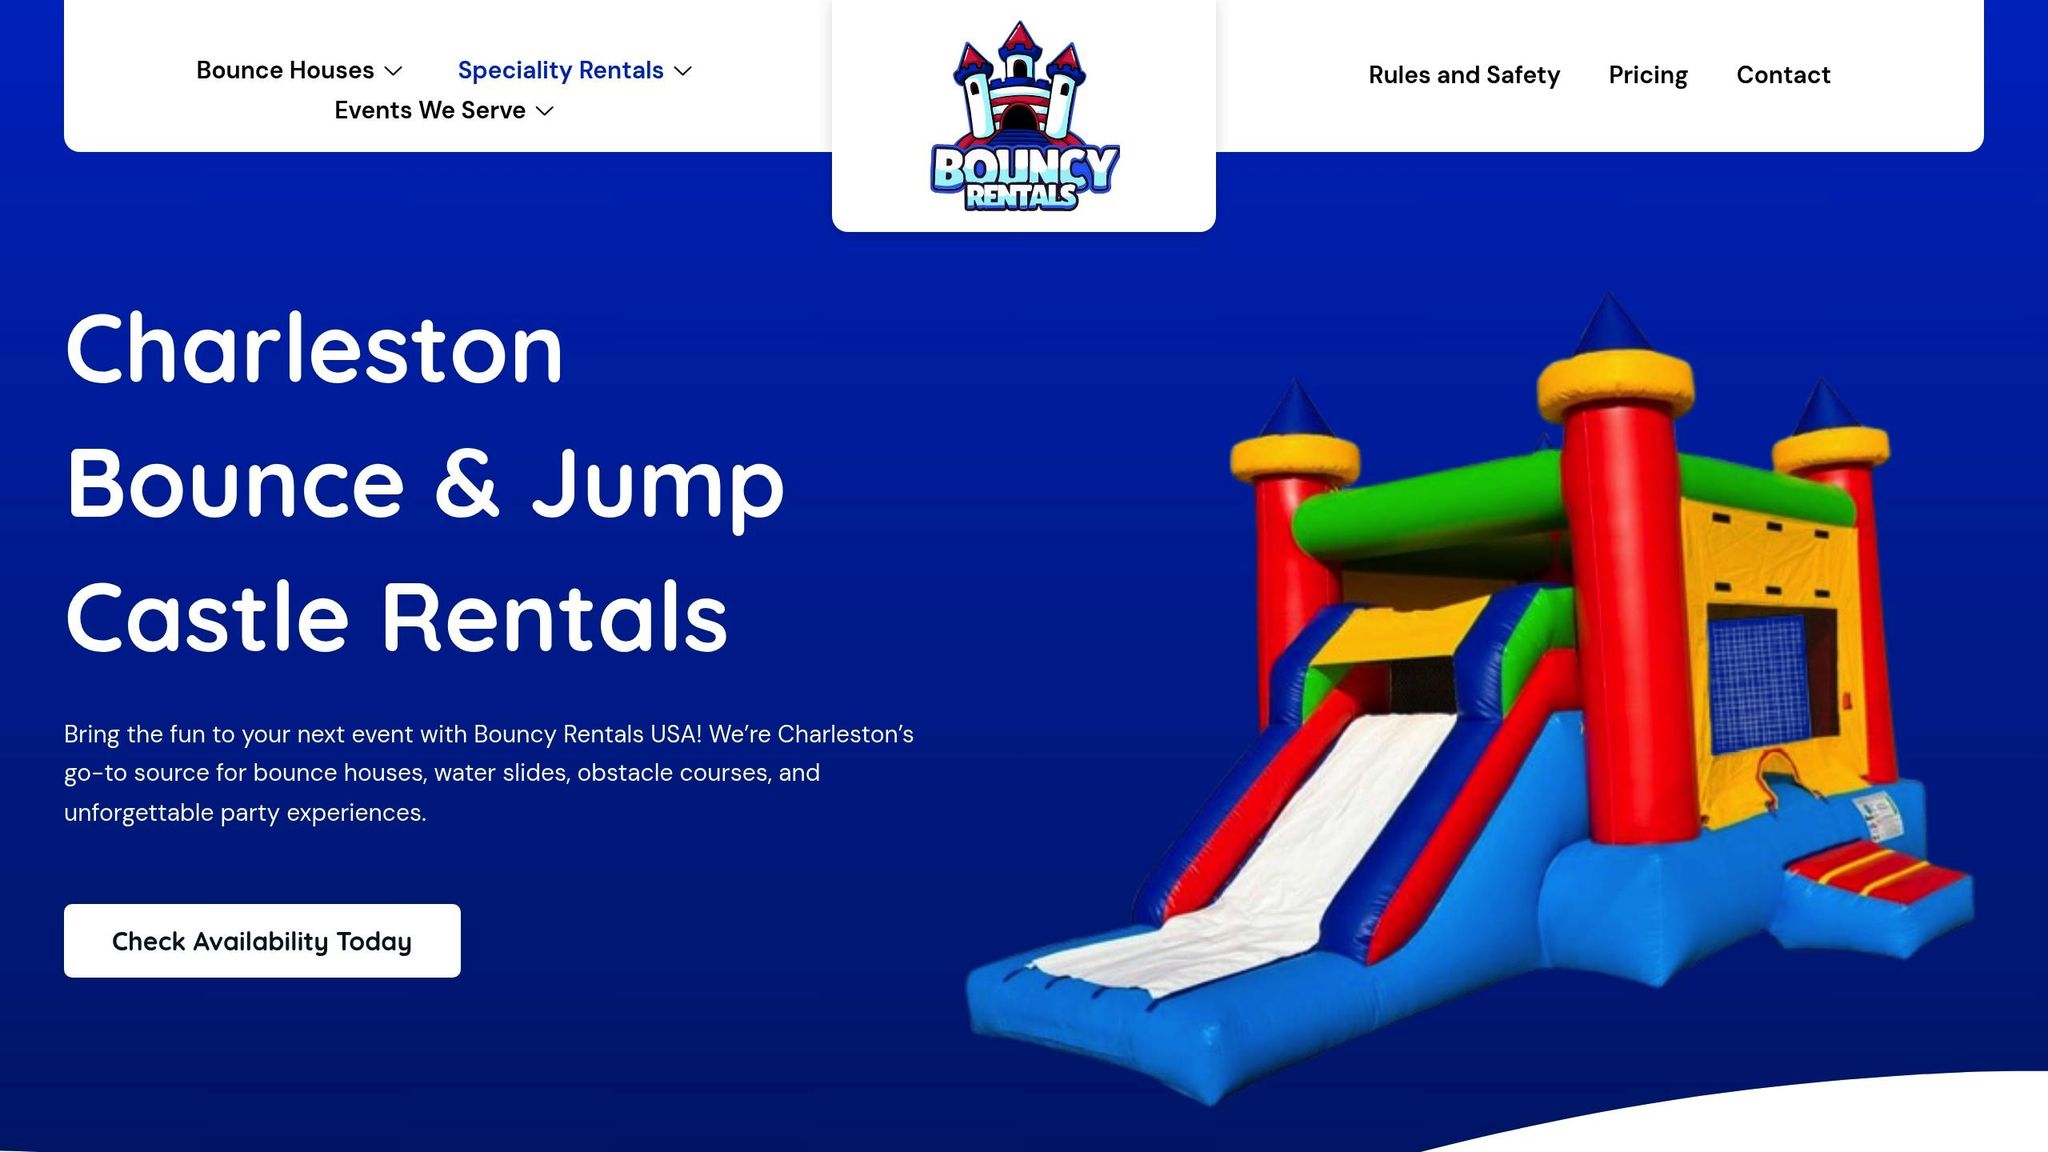
Bounce houses come in a range of sizes. Standard units are about 13×13 feet, while larger combo units and obstacle courses can measure 20×20 feet or more. Make sure to verify the exact size of each inflatable you’re considering before finalizing your setup.
Safety Spacing Between Bounce Houses
Leave at least 3 feet of clearance on all sides of each bounce house. For larger inflatables or events with heavy foot traffic, consider increasing the spacing to 5–8 feet between units. This extra room helps reduce the risk of collisions and keeps paths open for emergencies.
| Bounce House Type | Typical Size (ft) | Minimum Clearance (ft) | Recommended Spacing Between Units (ft) |
|---|---|---|---|
| Standard | 13 x 13 | 3 (all sides) | 3–8 |
| Combo/Obstacle Course | 20 x 20+ | 3 (all sides) | 5–8 |
Make sure entry and exit paths for each bounce house are clear and at least 4 feet wide. Avoid placing inflatables too close to fences, walls, or other structures that could block these pathways.
Once you’ve measured and accounted for spacing, map out your layout to ensure smooth traffic flow and easy supervision.
Drawing a Layout Plan
Planning your layout ahead of time can save a lot of hassle on the event day. Use graph paper or a simple drawing app to sketch your yard to scale, marking where each bounce house will go. Don’t forget to include the required safety spacing and access paths.
For example, if you’re setting up three 15×15 ft bounce houses with 3 feet of clearance on all sides, you’ll need about 54×19 ft of total space. You can arrange them in a row or an L-shape to ensure each has its own entry path and that none block access to the others.
Use cones or stakes to mark the layout on the ground. This will help you quickly identify and fix any potential issues.
Also, think about where parents will stand to supervise, where you’ll place other party essentials like tables or concession stands, and how guests will move through the space. Avoid creating bottlenecks, and make sure all inflatables are visible from a central supervision point.
Getting Ready for Setup and Weather
Once you’ve planned your bounce house layout, the next step is handling the technical details that ensure a safe and smooth event. This includes proper anchoring, checking for underground obstacles, and keeping an eye on the weather. These steps are essential for keeping everything safe and running efficiently. Let’s dive into how to secure your setup and prepare for any challenges.
Anchoring Methods for Different Surfaces
The way you anchor a bounce house depends on the surface it’s set up on. For grassy areas, ground stakes are your best bet. On the other hand, if you’re working with concrete, asphalt, or other hard surfaces, sandbags or water-filled bags are the go-to option.
- Grass Surfaces: Use metal stakes at each anchor point. Drive them firmly into the ground to keep the bounce house stable.
- Hard Surfaces: Since stakes won’t work here, place sandbags or water-filled bags at each anchor point. Use multiple bags to ensure the setup stays secure.
| Surface Type | Anchoring Method | Additional Safety Measures |
|---|---|---|
| Grass | Ground stakes | Use a tarp and clear debris |
| Hard surface | Sandbags or water bags | Add impact mats at entry/exit points |
Improper anchoring can void your insurance and increase the risk of accidents. Professional rental companies follow strict manufacturer and industry safety standards, which are often required for liability coverage.
Checking for Underground Utilities
Before anchoring, it’s important to ensure there are no underground obstacles. Driving stakes into the ground without checking can damage sprinkler systems, utility lines, or septic tanks. This could result in expensive repairs and safety hazards.
If you’re unsure about what’s beneath the setup area, call 811 in the US to have utility lines marked. This free service typically takes 2–3 business days, so plan accordingly. Also, look for visible signs of underground systems, like sprinkler heads or utility meters, and clear the area of pet waste and debris to avoid accidents.
Planning for Weather Conditions
Weather plays a big role in bounce house safety. Inflatables should only be used in winds of 15 mph or less and during clear weather. Regularly monitor conditions throughout the setup, event, and takedown.
- Avoid using bounce houses in storms, heavy rain, or when wind gusts exceed the safe limit.
- Extreme temperatures can damage equipment and make it uncomfortable for users.
It’s smart to have a backup plan in case of bad weather. Options include moving the event indoors, rescheduling, or setting up tents or canopies to protect both guests and equipment. Check with your rental provider about their weather-related policies to avoid last-minute surprises.
Companies like Bouncy Rentals USA take weather and safety seriously. They inspect sites, monitor weather conditions, and provide trained staff for setup and takedown. Their expertise and safety protocols ensure your event runs smoothly, even when the weather is unpredictable.
Working with Bouncy Rentals USA for Professional Setup
Planning an event with multiple bounce houses can feel overwhelming, but teaming up with a professional rental company like Bouncy Rentals USA can make everything run smoothly. They handle everything from delivery to setup and safety checks, ensuring every detail is covered so you can focus on having a great time.
Professional Delivery and Setup
Bouncy Rentals USA takes care of all the logistics when it comes to delivery and setup. Their team shows up on time, positions each bounce house according to your layout, and secures them using the right anchoring method for your surface – whether it’s grass, concrete, or something else.
Each bounce house is connected to a power source within 100 feet, requiring between 7.5 to 12 amps of power. If your event location doesn’t have accessible outlets, they also offer generator rentals, which come pre-filled with fuel and can run for up to 4 hours before needing a refill.
"The setup was quick, the castle was super clean, and the team at Bouncy Rentals USA was incredibly professional. Highly recommend them for any kids’ party in Charleston!"
– Dylan Hoy, satisfied customer
Before delivery, the team ensures all details are finalized and checks for a clear path of at least 4–5 feet to transport the equipment, avoiding obstacles like stairs or uneven ground that could complicate the setup.
Safety Inspections and Supervision
Once the bounce houses are set up, the team performs thorough safety checks to ensure everything is secure and ready for use. This includes verifying that anchors are properly in place, safety mats are positioned at entrances and exits, inflation levels are correct, and safety signage is clearly visible.
They also go over safety rules and capacity limits with the event host, stressing the importance of adult supervision. Supervisors are encouraged to monitor for overcrowding, enforce rules like no shoes or rough play, and ensure kids take turns safely. For larger events, Bouncy Rentals USA can even provide on-site staff to help manage the crowd. Experts suggest spacing bounce houses at least 6 feet apart and assigning a dedicated supervisor to each inflatable to keep things organized.
| Safety Check Item | What’s Verified | Additional Notes |
|---|---|---|
| Anchoring System | Stakes or sandbags secure | Depends on surface type |
| Safety Mats | Proper placement at entry/exit | Protects against hard surface impacts |
| Inflation Levels | Adequate air pressure | Monitored before and during the event |
| Signage & Rules | Visible capacity and safety info | Reviewed with event host |
Adding Party Extras to Your Event
Bouncy Rentals USA doesn’t just stop at bounce houses – they offer plenty of extras to make your event more memorable. Their concession machines, like cotton candy makers, popcorn machines, and snow cone makers, add a fun, festive touch.
For interactive entertainment, you can choose from options like dunk tanks (great for fundraisers and school events), inflatable obstacle courses, and games that entertain guests of all ages, from kids to adults at corporate parties. The team ensures all add-ons are delivered and set up alongside the bounce houses, with electrical equipment safely connected and ready to use. They also provide clear instructions so you can operate everything with ease.
All their equipment is thoroughly cleaned and insured, giving you peace of mind about both hygiene and liability. With Bouncy Rentals USA managing the technical details, you can relax and enjoy your event without any added stress.
Conclusion: Planning Tips for Safe and Fun Events
Pulling off a successful multi-bounce house event takes some careful planning, but the effort is well worth it. Start by choosing a flat, clean area with at least 6 feet of space between each bounce house. This simple step sets the stage for a safe and enjoyable experience.
Before setting up, make sure the ground is prepped. Clear away sharp objects, rocks, and even pet waste to avoid accidents or equipment damage. If you’re staking the bounce houses, contact your local utility company ahead of time to ensure there are no underground hazards. For hard surfaces, lay down a tarp and use sandbags to secure the units, protecting both the ground and the equipment.
Keeping an eye on the weather is just as important. Avoid setting up in winds over 15 mph or during bad weather. Always have a backup plan in case conditions take a turn. Many professional rental companies will refuse to set up in unsafe weather, prioritizing the safety of your guests.
Speaking of professionals, working with a rental company like Bouncy Rentals USA can make the entire process much easier. They handle everything from proper anchoring to electrical setup, ensuring everything runs smoothly. If you don’t have access to nearby power outlets, they can even arrange for generator rentals, which is especially helpful for larger events.
Safety should always be a top priority. Professional inspections and supervision can prevent up to 90% of bounce house accidents. This includes double-checking anchoring, inflation levels, and setting up safety mats at entry and exit points. Make sure there’s constant adult supervision – ideally, one responsible adult per bounce house – to keep things running safely.
Finally, don’t forget to add some extra fun to the mix. Party favorites like cotton candy machines, popcorn makers, or even dunk tanks can make your event even more memorable. With sanitized, insured equipment, you can relax and enjoy the celebration while the bounce houses keep the energy high.
FAQs
What’s the best way to prepare my yard for setting up multiple bounce houses?
To set up multiple bounce houses in a safe and enjoyable way, start by selecting a flat, open space that’s free of debris, rocks, or anything sharp. The ground should be dry and solid – steer clear of muddy or uneven areas. Leave at least 5–10 feet of space between each bounce house to give kids room to move around and avoid accidental bumps or collisions.
If you’re anchoring the inflatables with stakes, double-check that there are no underground utilities in the area. For convenience, place the bounce houses close to an electrical outlet, or use heavy-duty extension cords to power the blowers. Feeling unsure about the setup? Bouncy Rentals USA can assist you in making the process smooth and stress-free!
What safety precautions should I take when setting up bounce houses on different surfaces?
To make sure everyone has a safe and enjoyable time, pay attention to the surface where you’re setting up your bounce houses. For grassy areas, check that the ground is level, free of sharp objects, and freshly mowed. If you’re working with harder surfaces like concrete or asphalt, lay down a protective tarp or mat first – this helps reduce wear and adds a bit of cushioning. Steer clear of loose gravel or uneven ground, as they can make the setup unstable.
Don’t forget to secure the bounce houses properly. Use stakes for grass or sandbags for hard surfaces to keep everything in place. Also, leave enough space between units – at least 5-6 feet – to ensure safe access and avoid any accidental collisions. If you’re not confident about setting things up, Bouncy Rentals USA offers professional help to get everything installed safely so the fun can start without a hitch.
How can I make sure the bounce houses are safely anchored and ready to use at my event?
To make sure your bounce house is safe and secure for your event, start by selecting a flat, level area that’s clear of sharp objects, rocks, or debris. Grass is the best option, but with the right anchoring, concrete or asphalt can work too. Be sure to follow the manufacturer’s setup and anchoring instructions carefully.
For grassy areas, use stakes to anchor the bounce house securely. On harder surfaces like concrete, sandbags are a good alternative. Double-check that all anchors are firmly in place and that there’s no movement before allowing anyone to use the inflatable. If it’s a windy day, it’s safer to skip setting up the bounce house altogether. For extra assurance, you could rent from a reliable company like Bouncy Rentals USA. They handle proper setup and safety measures, so you can focus on enjoying the event worry-free.